Design Like a Pro on Linux: Exploring Gimp, Inkscape, Krita and Beyond
If you’re new to graphic design on the Linux operating system, welcome! Some of the first work I did professionally using Linux was designing simple logos for clients online. I have fond memories of the feeling of achievement that came with learning to use these tools and earning money for the work I created. In the decade that has passed since then, Linux graphic design and photography software have matured considerably. In this extensive guide, we’ll dive headfirst into the world of GIMP, Inkscape and Krita, three powerhouse software tools that have become the go-to choice for creative professionals and enthusiasts alike. These three programs are easily the most popular tools for graphic design available on Linux.
I’ll share the nuances of each tool I have picked up over the past several years, highlight their unique capabilities, and help you understand what type of work each program is best suited to. Whether you’re new to GIMP, Inkscape and Krita or already use them regularly, this article will share techniques for each tool, and offer creative new workflows equipping you with the knowledge and confidence to design like a pro on the Linux platform.
What are GIMP, Krita and Inkscape?
GIMP, Krita, and Inkscape are all free and open-source graphics editors. They are similar but distinctly different programs built for different tasks. The key differences between them are as follows:
- GIMP is designed for high-quality photo editing. It’s sufficient for most graphical photo editing applications. However, if you’re working with raw photos from your camera, you may want to check out Darktable. GIMP is similar to Adobe Photoshop in the tasks you’ll most likely use it for.
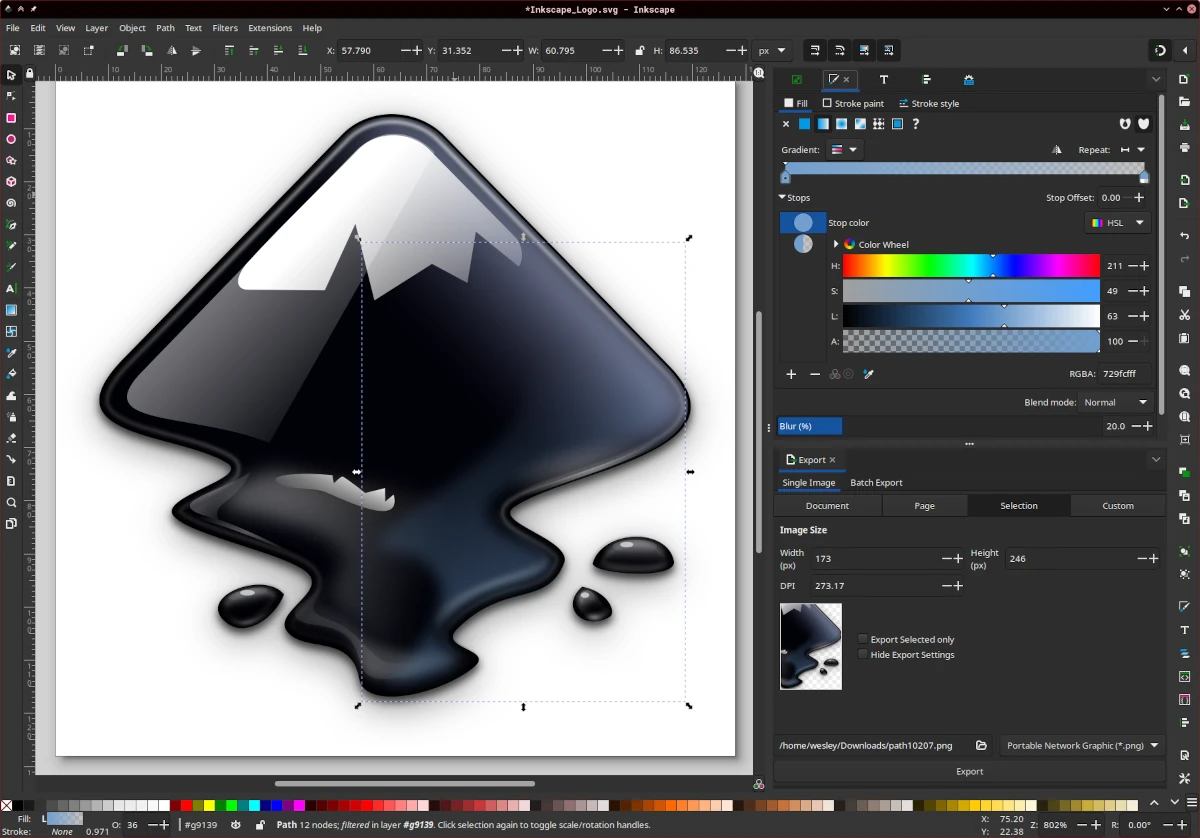
- Inkscape is a vector graphics editor. It’s ideal for making designs that can be resized without losing their quality. These include posters, logos, and mobile app buttons. A mainstay for digital graphic design, Inkscape shares some similarities with Adobe Illustrator.
- Krita is more focused on digital art and animation. It has a clear advantage when it comes to color modes. You can use both RGB and CMYK in Krita while you can only use RGB in GIMP. Krita also supports 2D animation features, similar to Blender Grease Pencil.
While there is plenty of overlap in the features offered by each tool, they each show their strengths depending on the creative discipline or project you’re working on.
Getting to Know GIMP
When Spencer Kimball and Peter Mattis attended the University of California at Berkeley back in 1995, they decided they wanted to write an image manipulation program rather than a compiler for a computer science class project. With the blessing of their mentors, Spencer and Peter started working on the General Image Manipulation Program, or “The GIMP” for short. We now call it simply “GIMP” (GNU Image Manipulation Program) and it’s become a household name for GNU/Linux and unix-like desktop users everywhere nearly 30 years later.
“The GIMP originally stood for General Image Manipulation Program, but has since been dubbed GNU software by Richard Stallman (with our agreement). Spencer and I decided that GNU Image Manipulation Program is a better usage of the ‘G’.”
– Peter Mattis, Co-Creator of GIMP
GIMP’s Basic Photo Editing Features
GIMP excels in providing a comprehensive set of tools for basic image manipulation tasks, allowing you to effortlessly perform actions like resizing, cropping, image compression, rotation, and flipping. With its intuitive interface and powerful features, GIMP allows you to make precise adjustments to your images. Whether you need to resize an image for a website, crop a photo to focus on a specific subject, compress an image to reduce file size without compromising quality, or rotate and flip an image to achieve the desired orientation, GIMP offers a range of versatile tools that make these tasks simple and efficient. Using GIMP, you have the freedom to manipulate your images with ease and achieve professional-looking results.
GIMP’s Extensibility
GIMP was purposefully developed with flexibility, extensibility, and openness in mind from the very beginning. The GIMP community offers an impressive selection of over 100 plug-ins, giving you the ability to customize GIMP to suit your specific workflow needs. Additionally, GIMP seamlessly integrates with command-line operations and supports scripting in Python or Perl, making it a breeze to incorporate into specialized server-based projects. While it may require some initial setup and patience to fine-tune GIMP according to your requirements, the potential it offers is boundless. With GIMP, you have the freedom to unleash your creativity and adapt it to various use cases and user preferences.
Layer Types and Blend Modes
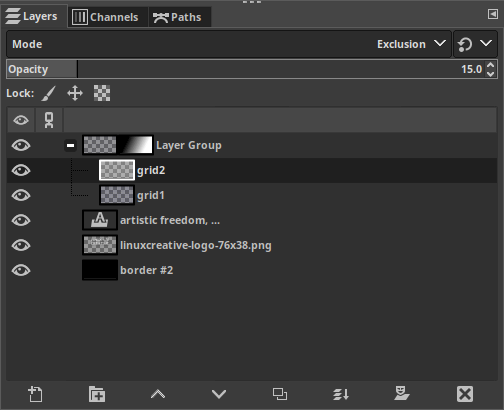
In addition to its basic image manipulation capabilities, GIMP also boasts advanced features that make it a useful tool for professionals. One of the key strengths of GIMP lies in its robust layer system. With support for various layer types, including image, text, and adjustment layers, you can create complex compositions and combine multiple elements seamlessly. GIMP’s extensive collection of blend modes opens up a world of creative possibilities, allowing you to blend layers together in unique ways to achieve desired effects such as transparency, overlays, and blending colors. Moreover, GIMP’s layer masks provide precise control over the visibility and transparency of different parts of your image, enabling you to selectively apply edits, create intricate adjustments, and seamlessly blend elements for stunning compositions. With these powerful layer-based features, GIMP empowers you to unleash your creativity and achieve professional results in your digital artwork or photo editing projects.
Advanced Image Filters
In addition to its impressive layer capabilities, GIMP offers a wide range of advanced image filters that allow you to enhance and transform your images with ease. Whether you’re looking to apply artistic effects, adjust colors, or sharpen details, GIMP’s extensive filter library has got you covered. From blur and sharpen filters to distortion effects and noise reduction tools, you’ll find a wealth of options to experiment with and take your images to the next level. GIMP’s flexible filter system also allows you to stack and combine multiple filters, giving you the freedom to create unique and customized effects that suit your artistic vision. With these powerful image filters, GIMP empowers you to explore new creative possibilities and add a professional touch to your digital artwork or photo editing projects.
A few of the most popular filters I use often in my own work are the following:
- Gaussian Blur, Focal Blur & Motion Blur: These filters are widely used for creating soft and smooth effects, placing emphasis on an image subject, and conveying movement or adding a dynamic touch to your photos.
- Unsharp Mask: This filter enhances image details by increasing contrast along edges, resulting in a sharper and more defined appearance. A little goes a long way here. Use it with caution!
- Drop Shadow: By applying this filter, you can easily add depth and dimension to objects or text, creating a realistic shadow effect that enhances the overall composition. You might want to use drop shadows on text overlays for YouTube thumbnails for example.
- Long Shadow: This filter is ideal for creating trendy long shadows, commonly seen in modern design styles, giving your graphics a sleek and contemporary look. Reach for this tool if you’d like to emphasize a large title, or create a flat icon.
- Vignette: This tool darkens the edges of a photograph, drawing the viewer’s attention to the center of the frame and enhancing the overall mood and atmosphere. As with Unsharp Mask, this tool is widely abused. Use it subtly to enhance your photos.
- Lens Distortion: Simulate the distortion and aberrations typically found in different camera lenses, adding an artistic and creative touch to your photographs.
There are many more filters included in GIMP, and they are a lot of fun to explore. By experimenting with different filter combinations and settings, you can achieve stunning and customized effects, giving your images a professional and artistic flair. With GIMP’s extensive filter library, the possibilities are virtually unlimited.
Is GIMP a Photoshop Clone?
Not at all. With a development history spanning over 25 years, GIMP has evolved into a mature and feature-rich image manipulation program in its own right. While there may be some similarities in terms of functionality and interface, thinking of GIMP as a Photoshop clone can lead to unnecessary frustration, especially for users who are accustomed to the Photoshop workflow. GIMP has its own unique set of tools, features, and workflows that make it distinct and powerful. Embracing GIMP for what it is, rather than trying to force a direct comparison to Photoshop, allows you to fully appreciate its capabilities and leverage its strengths. Whether you’re a beginner exploring the world of image editing or an experienced artist looking for a versatile and free alternative to subscription-based software, GIMP offers a wealth of possibilities to fulfill your creative needs and unleash your artistic potential.
Unleashing Creativity with Krita
Krita’s journey traces back to its early connection with GIMP, which was showcased by Matthias Ettrich at the 1998 Linux Kongress to demonstrate the power of GUI development using the Qt framework. Inspired by this, the KDE project embarked on developing their own image editor, initially named KImage, as part of the KOffice suite. Renamed several times, from KImageShop to Krayon, it finally became Krita in 2002 due to trademark conflicts. Initially, Krita functioned as a general image manipulation software similar to GIMP. However, in 2009, the development community set a new goal to establish Krita as a top-notch digital painting software, comparable to commercial offerings like Corel Painter and SAI. Through initiatives like Google Summer of Code and the establishment of the Krita Foundation in 2013, Krita garnered stability, funding, and community support. Today, Krita has become a go-to tool for concept artists, illustrators, texture artists, and VFX professionals, winning their admiration and finding a welcome home on their computer and tablet screens.
Krita is for Digital Artists
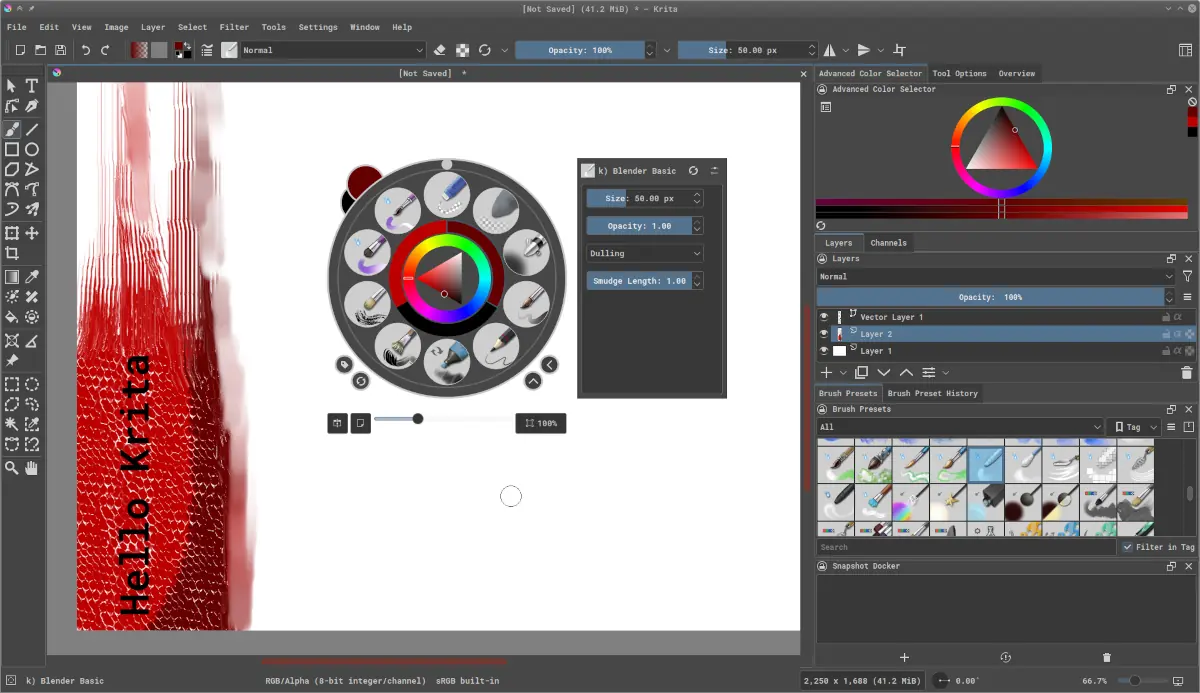
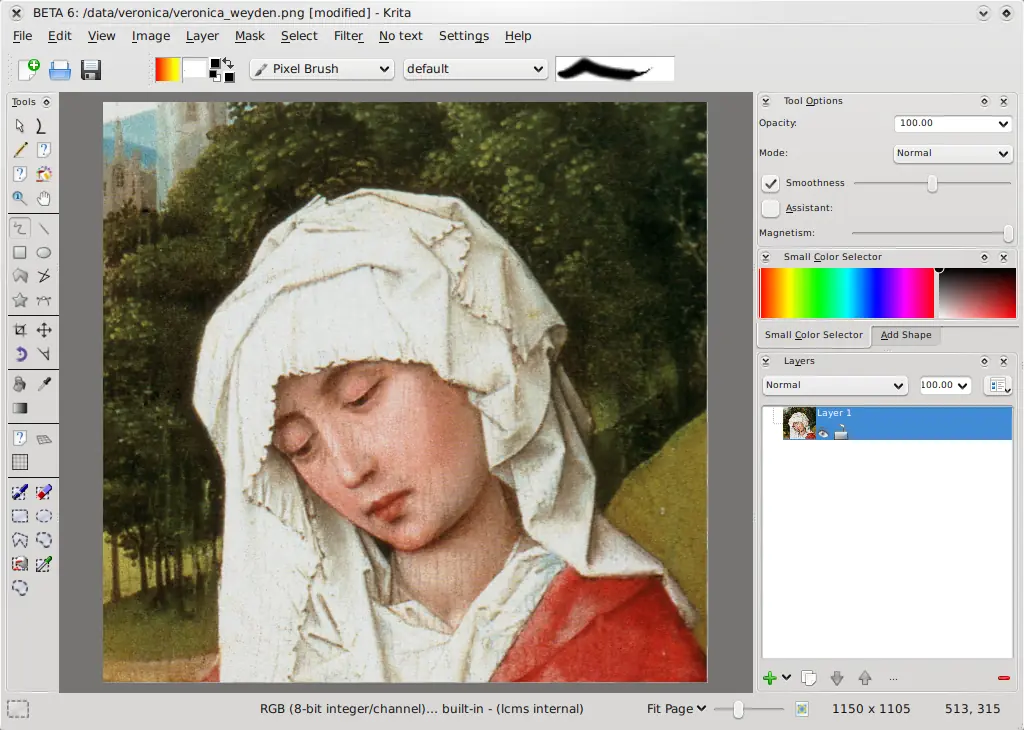
As you can probably guess, Krita’s strengths over GIMP are specifically in the digital painting arena. While GIMP offers some nice basic digital painting features, Krita really puts the artist front and center with a user experience designed for graphics tablet users. The most common tools will be available to artists without having to leave their stylus thanks to Krita’s right-click heads up display (HUD) and convenient keyboard shortcuts. Krita also boasts an extensive variety of stock brushes that can be customized to your liking. Since many digital artists are also involved in animation, Krita offers some frame-by-frame raster animation features, including onion skinning, real-time animation playback, and extensive rendering options via FFmpeg. Whether you’re creating a concept art animatic, or a full-blown animated scene, Krita can help you achieve professional results.
Krita’s Most Popular Tools
To help you gauge whether Krita aligns with your project needs, it’s essential to familiarize yourself with some of its most widely-used tools. Some of the most frequently used tools in Krita are as follows:
- Brush tool: The brush tool is used to create freehand drawings. It can be customized with different brush sizes, shapes, and textures.
- Pen tool: The pen tool is used to create precise lines and shapes. It can be used for both vector and raster drawings.
- Eraser tool: The eraser tool is used to remove unwanted areas of a drawing. It can be customized with different eraser sizes and shapes.
- Fill tool: The fill tool is used to fill an area with a solid color or pattern. Select tool: The select tool is used to select an area of a drawing. It can be used to move, copy, or delete the selected area.
- Layer tool: The layer tool is used to create and manage layers in a drawing. Layers can be used to organize different elements of a drawing and to apply different effects to each layer.
- Mask tool: The mask tool is used to hide or reveal parts of a drawing. Masks can be used to create complex effects, such as transparency and glows.
These are just a few of the many tools that are available in Krita. With so many tools to choose from, Krita is a powerful drawing program that can be used to create a wide variety of artwork.

Krita Display and Color Management
Krita takes advantage of OpenGL accelerated canvas, enhancing performance and providing artists with smoother framerates, instant input response, and seamless zooming and panning capabilities. These optimizations greatly enhance the overall experience for digital artists, allowing them to work more comfortably and efficiently.
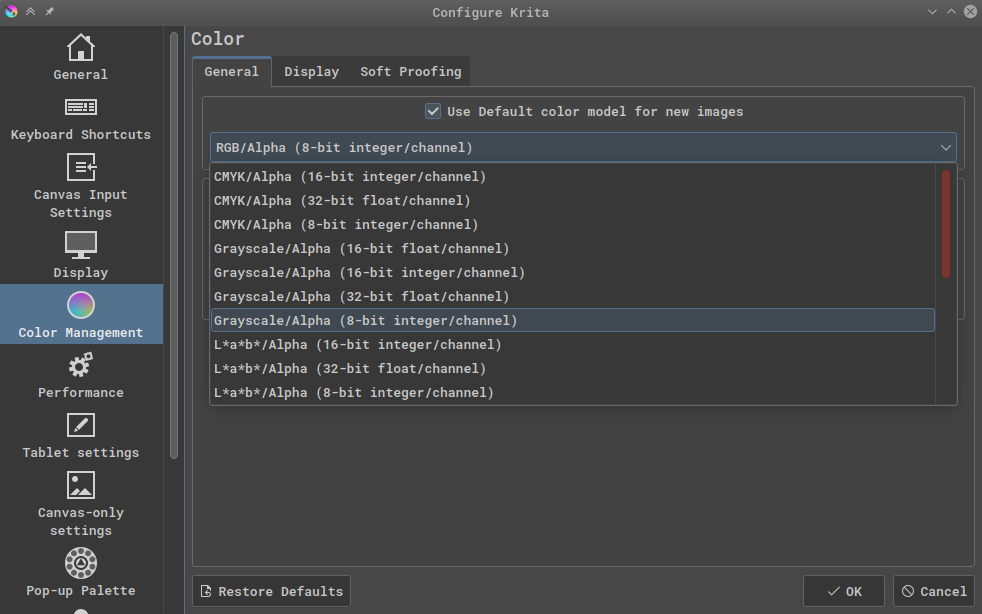
Additionally, Krita boasts robust color management features that professionals truly appreciate. It enables users to assign and convert between different color spaces, perform real-time color proofing (including color-blind mode), and work with various color models, such as RGBA, Grey, CMYKA, Law, YCbCr, and XYZ. Whether working with 8-bit or up to 32-bit floating point color depth, Krita ensures accurate and precise color representation throughout the artistic process.
Mastering Vector Graphics with Inkscape
Inkscape came into its own in 2003 as a fork of the now-defunct Sodipodi project. Sodipodi started as a fork of Gill (Gnome Illustration app) which made its debut in 1999 and has long since been abandoned. Since 2003, Inkscape, led by several former Sodipodi developers, focused development efforts on implementing the complete SVG standard, rather than functioning as a more general use vector graphics program. While Inkscape’s primary format and focus is on SVG, it offers import and export of many other popular vector graphics formats, including Adobe Illustrator Artwork (.ai) and CorelDRAW (.crd) files, making it a versatile tool for many different use cases.
Inkscape is for Graphic Designers
Inkscape is used primarily in digital graphic design. Designers turn to Inkscape when they need to create and manipulate SVG files for the web. While Inkscape can also be utilized for print design, it’s important to note that its support for CMYK color management is relatively limited, which may not fully meet the needs of print-oriented designers. Nevertheless, Inkscape truly shines in crafting captivating SVG files for web animation, generating vector-based logos, and bringing digital illustrations to life (though, as we previously explored, Krita might be a more suitable choice for certain digital illustrations).
Popular Inkscape Tools and Functionality
As with the other programs I’ve touched on so far, understanding the most popular tools designers reach for within Inkscape can help you determine if it’s the right fit for your project. Some of the most popular tools in Inkscape are the following:
- Selector: The most frequently used tool, used to select any object on the canvas.
- Bezier Curve: A pen-like tool that creates custom paths on the canvas. Make straight or curved lines of any shape with this powerful tool.
- Rectangle: Creates a rectangle, square, or rounded rectangle object.
- Circles, Ellipses, and Arcs: Creates vector objects with curved edges, including circles, ellipses, and partial ellipses in pie chart style.
- 3D boxes: Creates a 3D box with XYZ values that can be easily adjusted.
- Stars and Polygons: Accepts a number of sides or points, creates corresponding stars and polygons
Inkscape is a Great Choice for Web Designers
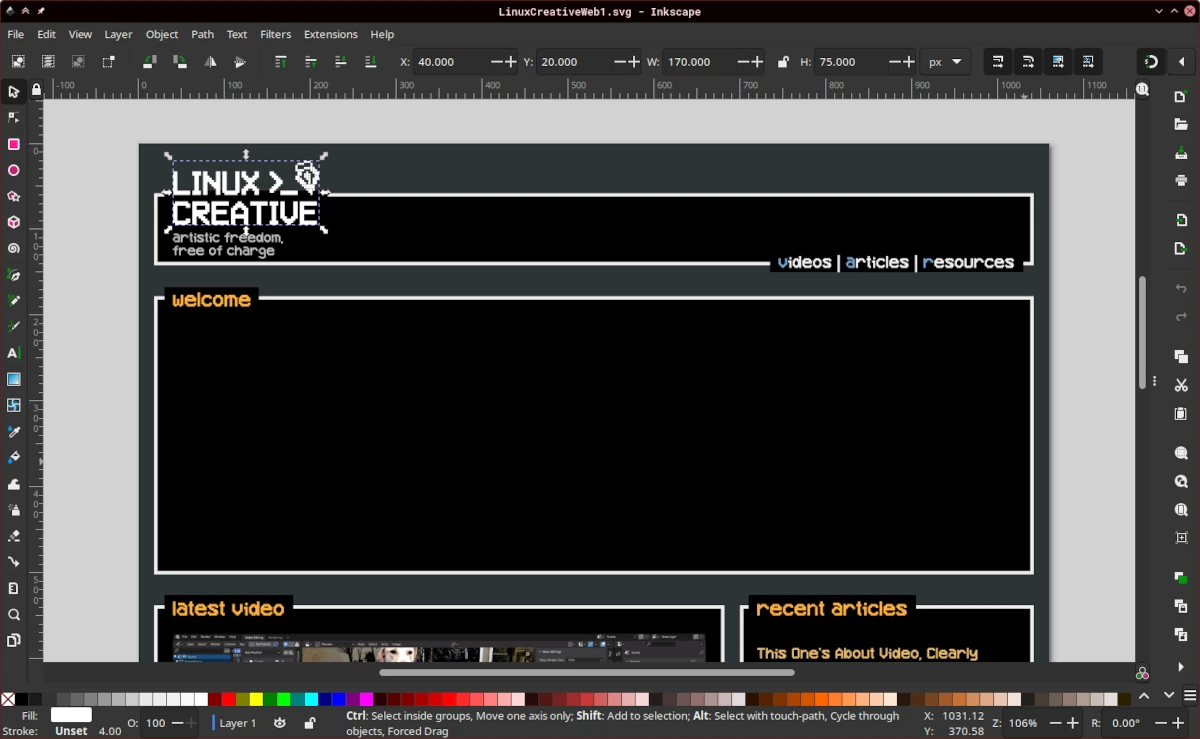
While Inkscape may not be the best choice for print designers, you can hopefully see by now that Inkscape shines at creating rich scalable vector graphics in native SVG format for use on the web. As a result, Inkscape has gained popularity among front-end web developers and web designers alike. Personally, I frequently use Inkscape in website creation, including this website! Inkscape makes it fast and convenient to craft design wireframes before implementing web designs using HTML, CSS, and Javascript. This enables me to swiftly iterate on design concepts before delving into the coding process. I genuinely believe that you too can benefit from leveraging Inkscape to design your own unique user interfaces and stand out from the crowd!
Is Inkscape a Suitable Alternative to Adobe Illustrator?
No, and it’s important to understand that Inkscape and Adobe Illustrator should not be considered direct replacements for one another. Just as GIMP and Photoshop have their unique characteristics and purposes, the same applies to Inkscape and Illustrator. Although both software tools are geared towards vector graphic design, they differ in their core focuses. Inkscape places a strong emphasis on the SVG feature set, making it particularly well-suited for web and digital design. On the other hand, Illustrator is designed to be a versatile and all-encompassing vector graphic design program, catering to a broader range of applications. Consequently, Inkscape excels in designing for web-based projects, while Illustrator truly shines when creating graphics intended for print. Understanding these distinctions will help you make informed decisions and avoid a lot of frustration when trying to use new tools.
Putting it All Together: A Linux Design Workflow
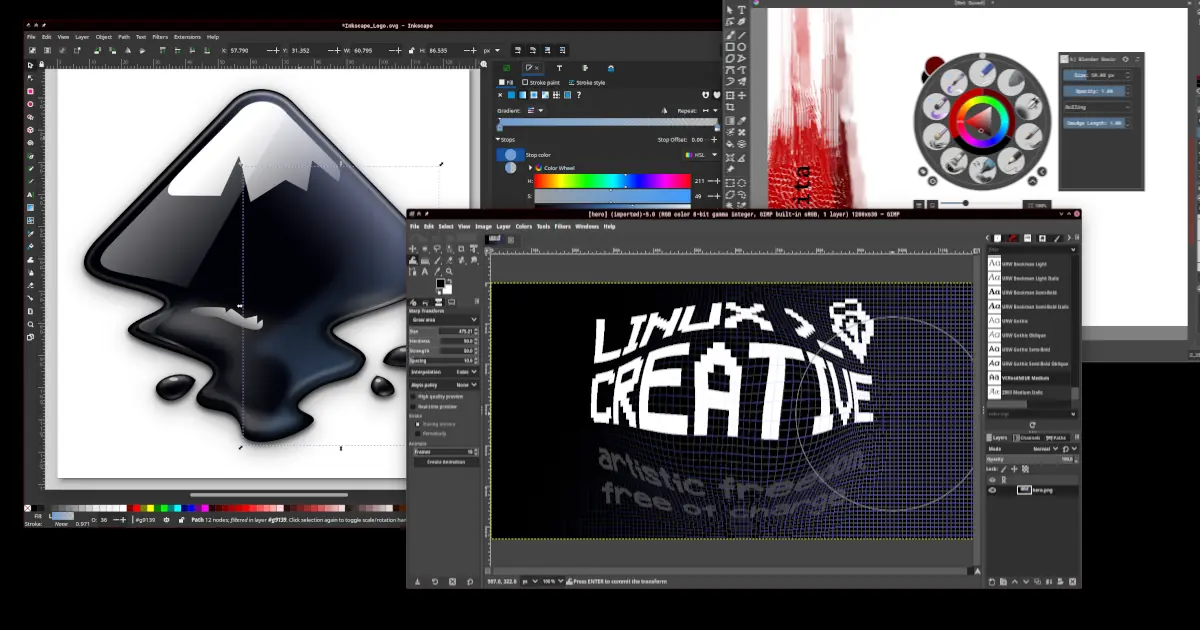
Often in my own work, I find that I need to bounce between different tools in different project phases. Whether you need to start by sketching out a rough design in Krita with your graphics tablet, blocking out basic shapes in Inkscape to serve as a guide, or take advantage of GIMP’s advanced photo editing tools and filters, it’s easy to switch between tools as they all offer extensive filetype support. Here is what that looks like visually to give you an idea of what you can expect.
| GIMP | Inkscape | Krita | |
|---|---|---|---|
| XCF | Full Support | No | Import Only |
| SVG | Import Only | Full Support | Import Only |
| KRA | No | No | Full Support |
| PSD | Import Only | No | Full Support |
| AI | No | Import Only | No |
| Import/Export | Import/Export | Import/Export | |
| Raw | Import Only | No | No |
| ORA | Full Support | No | Full Support |
| ODG | No | No | Import Only |
After a quick look at this file support matrix, a few conclusions can be drawn:
- The best raster format for cross compatibility between GIMP and Krita is OpenRaster (.ora)
- The best vector format for cross compatibility between Inkscape and others is Scalable Vector Graphics (.svg)
- It’s generally a good idea to start with any vector graphics design first, since GIMP and Krita offer import only support for vector graphics formats.
- GIMP, Inkscape, and Krita all offer some level of compatibility with PDF files. PDF files are also a great format for sharing work with clients as they are pretty universally supported by browsers and document viewers.
Achieving Cross-Compatibility and File Preservation
In my experience, I’ve utilized Inkscape to create logos with text and shapes, seamlessly integrating them into projects involving GIMP and Krita. These projects encompassed various assets like social media graphics, banners, and video thumbnails. To preserve your “source” files, saving logos as Inkscape SVG ensures future flexibility, while intricate GIMP projects should be saved in XCF format to retain all crucial components. Similarly, Krita projects benefit from being saved as KRA files to preserve project-level details. Following these practices ensures effortless access and modification of your work across different design software.
Furthermore, Inkscape supports AI file import, while GIMP and Krita can open PSD files from Adobe Photoshop. This cross-compatibility empowers collaboration and allows for seamless work with both AI and PSD files using Inkscape, Krita, and GIMP.
Conclusion:
As I conclude this brief exploration of GIMP, Krita, and Inkscape, I hope you’ve gained a deeper understanding of these versatile graphics editors. Each software brings its own unique set of features and capabilities to the table, catering to the diverse needs of photographers, digital artists, and graphic designers. By harnessing the power of these free and open-source tools, you can easily achieve professional results.
P.S.
As a final word, I realize that there is a bit of a knowledge gap in this article as it relates to print design, and there are several great projects dedicated to publishing for Linux. I encourage you to check out LibreOffice Draw, Scribus, and sK1.