How to Create Drop Shadows with Blender VSE
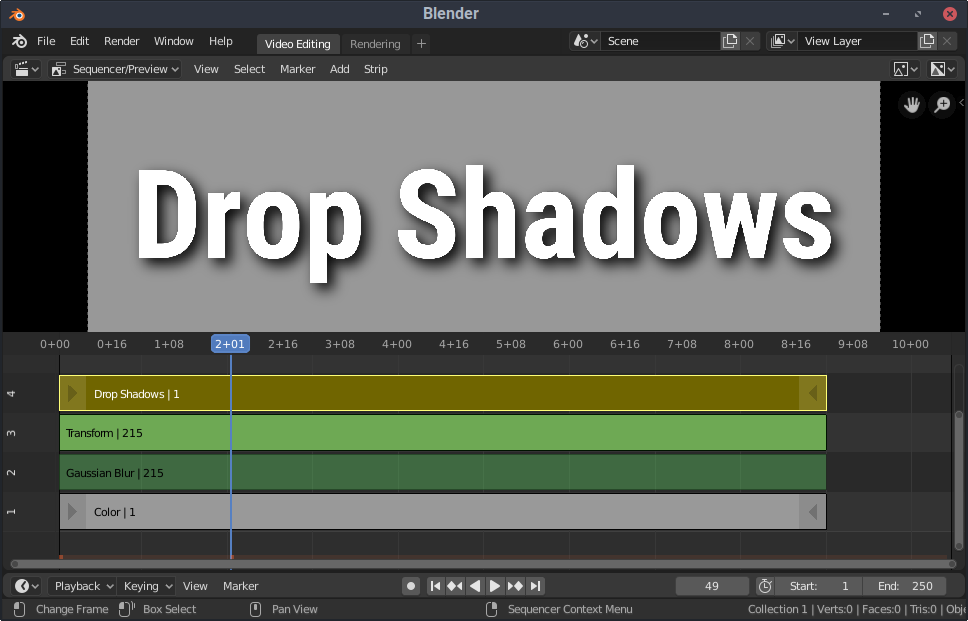
One of my favorite new enhancements included in Blender 2.80 is the ability to pick a custom font for Video Sequence Editor (VSE) text strips. Text positioning has also greatly improved, but one component that still isn’t quite useful for anything more than subtitles yet is the “Shadow” property. We’re only provided with a checkbox and a color picker for now. Playing with the alpha value in the color picker can enhance the drop shadow effect slightly, but without spread or offset values, the drop shadow still looks less than professional for larger titles. Below is a guide to creating a high quality, highly configurable text drop shadow completely in Blender VSE.
What is a Drop Shadow?
If you use Blender as a video editor, you’re no stranger to solving problems using unconventional methods. While Blender VSE doesn’t give us a verbose “drop shadow” property for text, it does provide us with several powerful effects we can use to produce the results we desire. To solve the drop-shadow problem, we must first break down what a drop shadow is in its most basic form.
For most use cases, a drop shadow is:
- a duplicate text layer
- usually black or gray in color
- positioned under the text layer
- blurred
- somewhat transparent (partially opaque)
- usually (but not always) offset x & y pixels from text layer
Approaching the drop shadow as a unique set of bite-sized requirements will help us re-create it within Blender. While the most obvious solution looking at the list above would be to duplicate the text object, then make the necessary modifications to it, and finally place it under the text object, what happens when you’re asked to change the text altogether? Are you going to repeat all of those configuration steps? I hope not!
Non-Destructive Video Editing
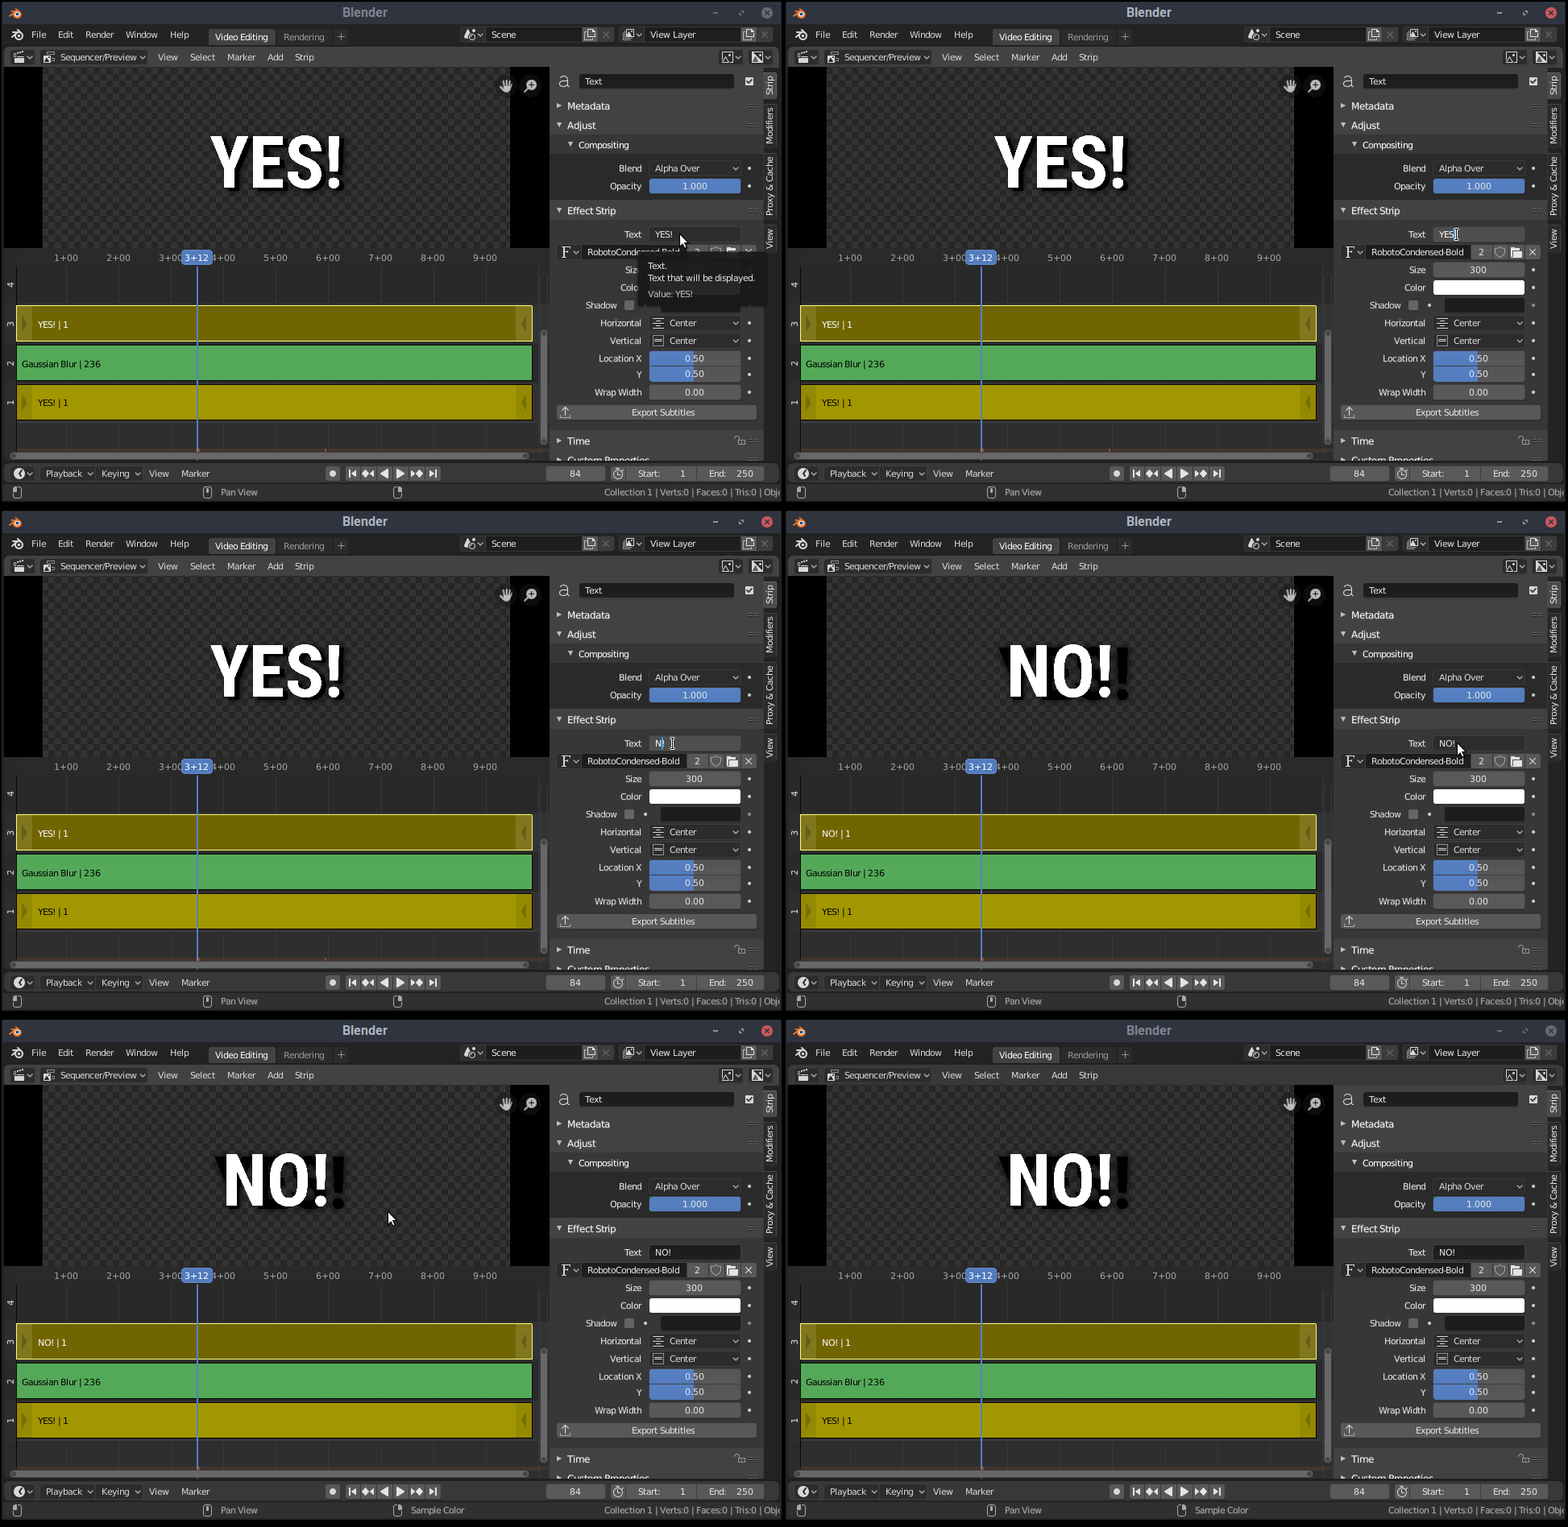
We’ll take the non-destructive workflow to achieve a drop-shadow, so no adjustment is required after initial creation. This is similar to non-destructive design principles employed using Blender’s mesh modifiers.
1. The Text Object
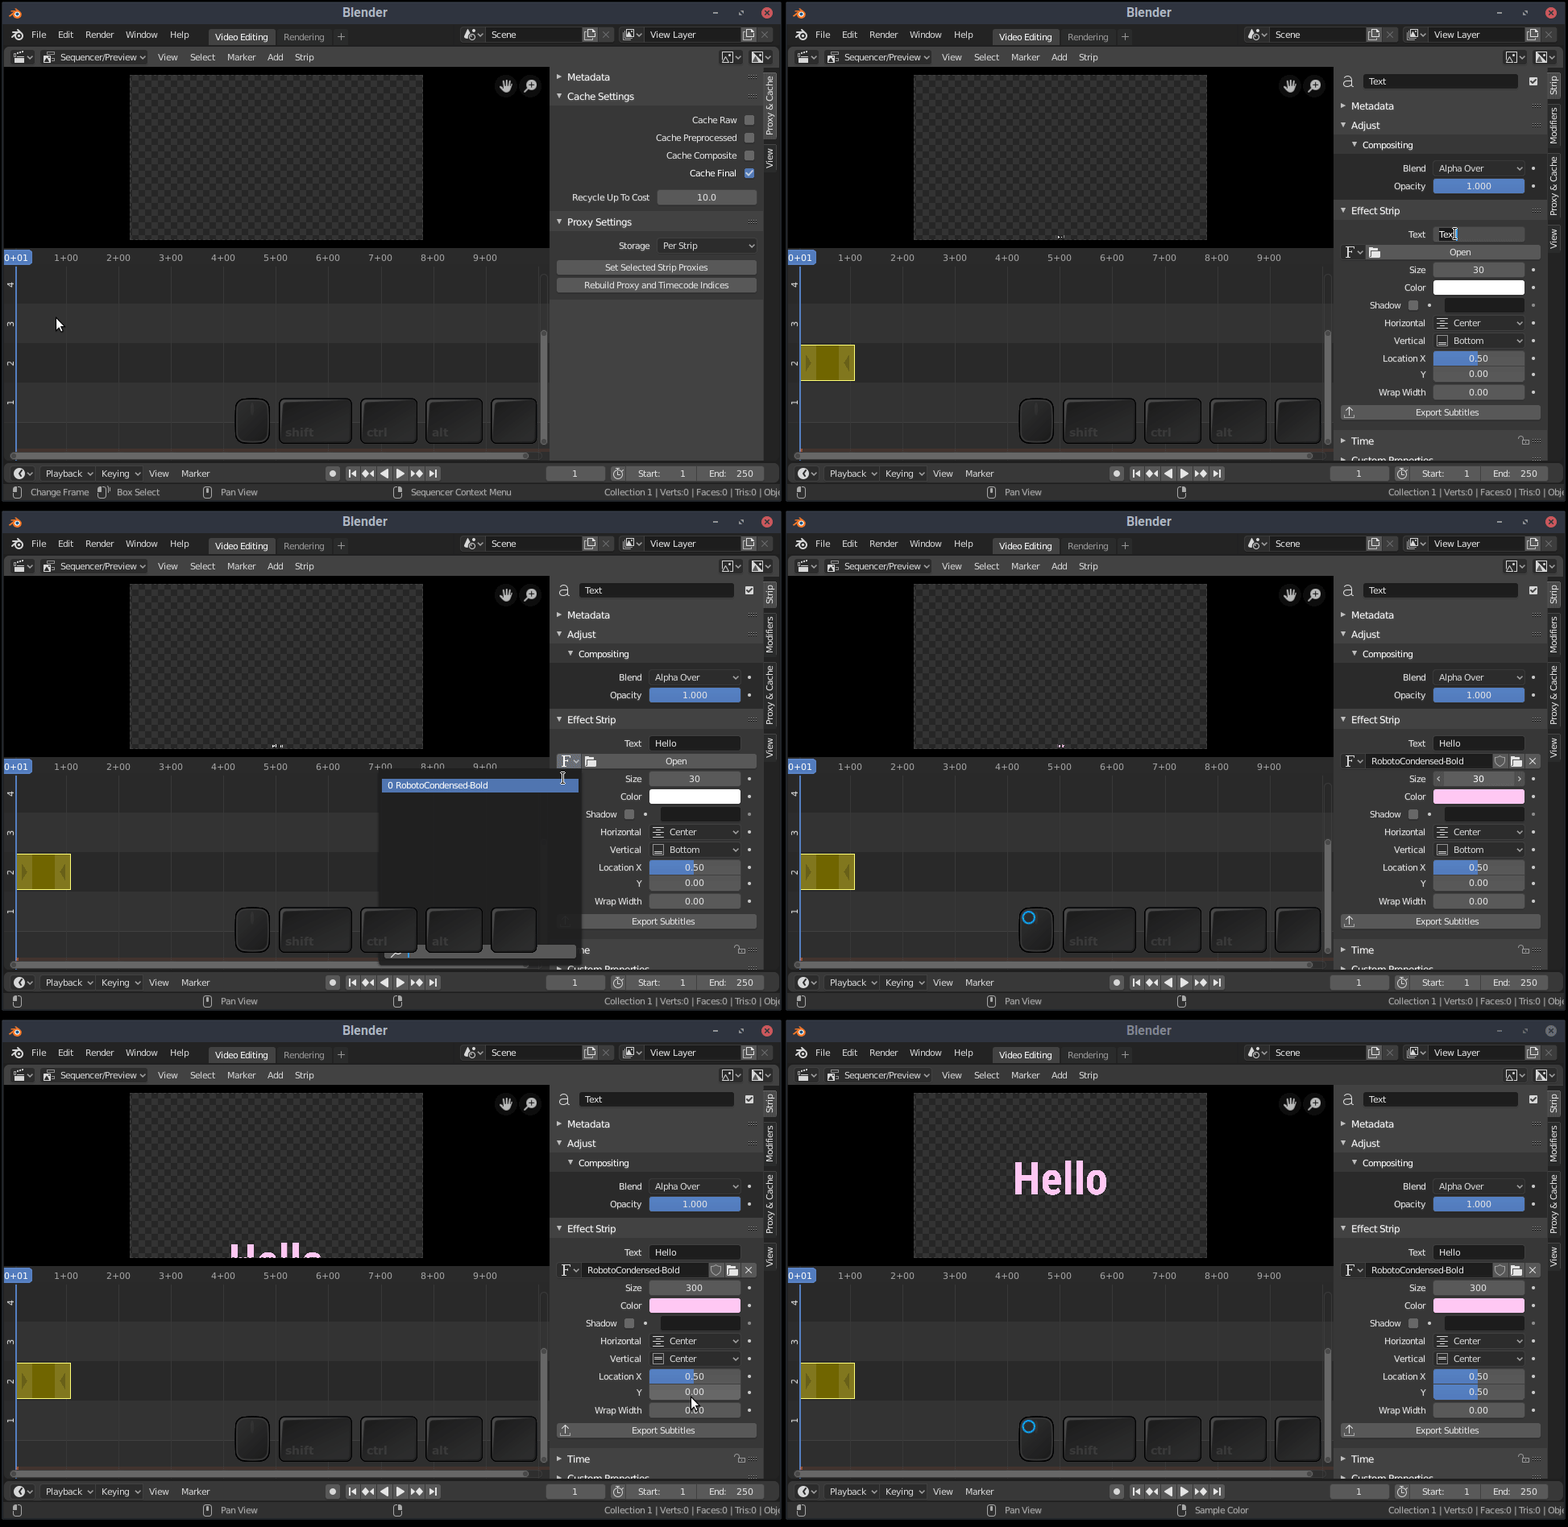
With your cursor over Blender’s sequencer area, hit Shift + A to open the “Add” menu. Here, you’ll find the “Text” option.
With the newly added text strip selected, you can access its properties on the right panel. Here you can change the text itself, adjust the color, placement, and pick a font file. You can either locate font files on your computer, or you can download the specific font you wish to use from somewhere like Google Fonts, then open that font file.
PRO TIP:
Keep video project font files in a directory where you store your video projects, so you can find them easily, and access them for future projects.
2. Duplicate (with Blur!)
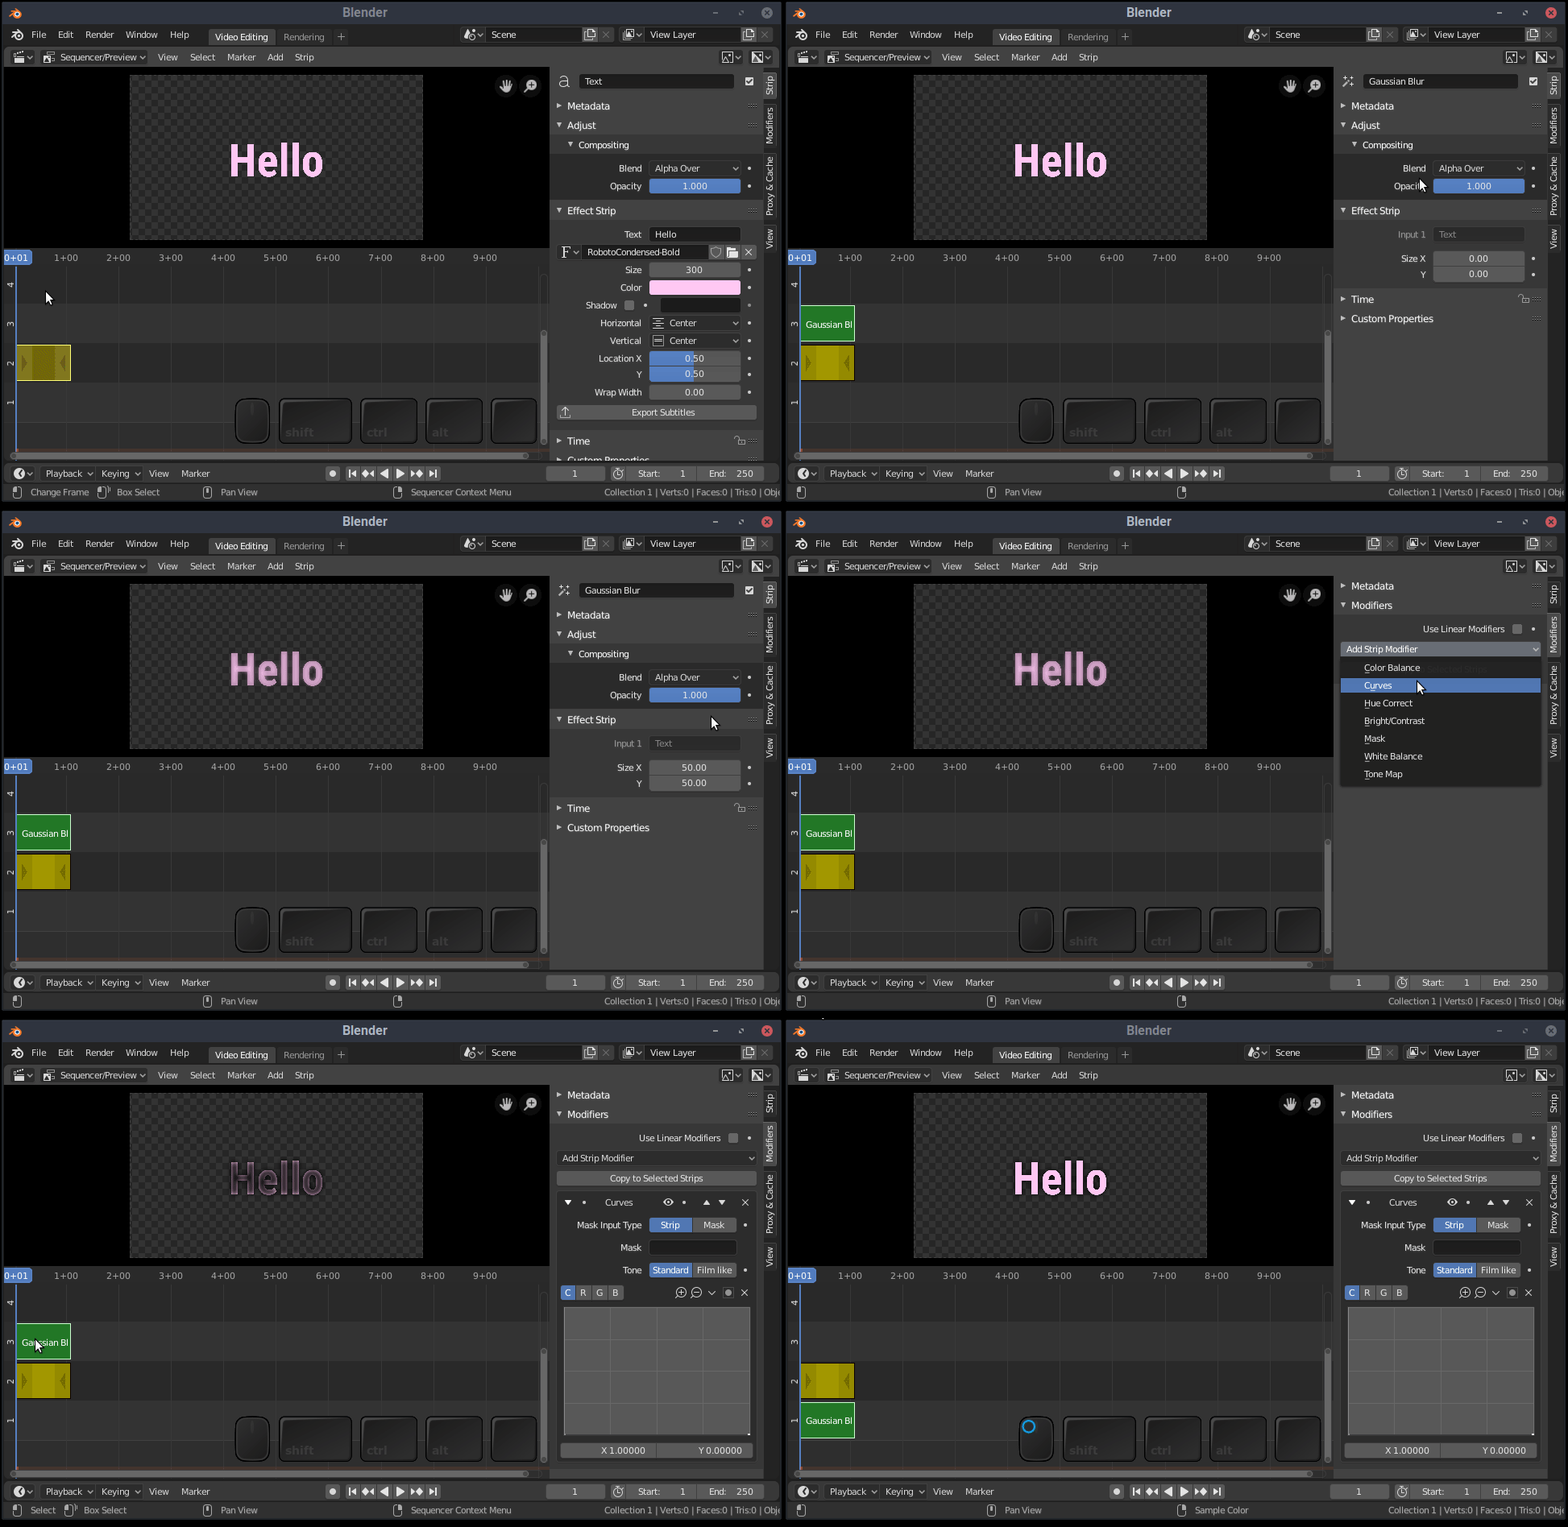
We can take care of both the duplication process and the blur by adding a “Gaussian Blur” effect to the text we just configured. With the text strip selected, hit Shift + A once more, then click Effect Strip > Gaussian Blur. This effect offers an X & Y Size values. The right value for these will depend largely on the size of your text, so experiment with it, and keep in mind, you can edit the values later.
There are 2 problems left to tackle though:
- The blur needs to be under the text object.
- It also needs to be black.
The first problem is an easy one to solve. Simply click-and-drag the text item up one channel, then click-and-drag the blur effect below it. Voila!
Now, to tackle making the blur effect black in a non-destructive way; the easiest method I’ve found to accomplish this is to add a strip modifier to the effect strip. Click on the “Modifiers” tab of the Gaussian Blur properties, then select “Curves” from the drop-down menu. Clicking and dragging the top-right point down to the bottom-right corner of the curves interface will make the blur effect appear black on screen, done!
3. The Offset
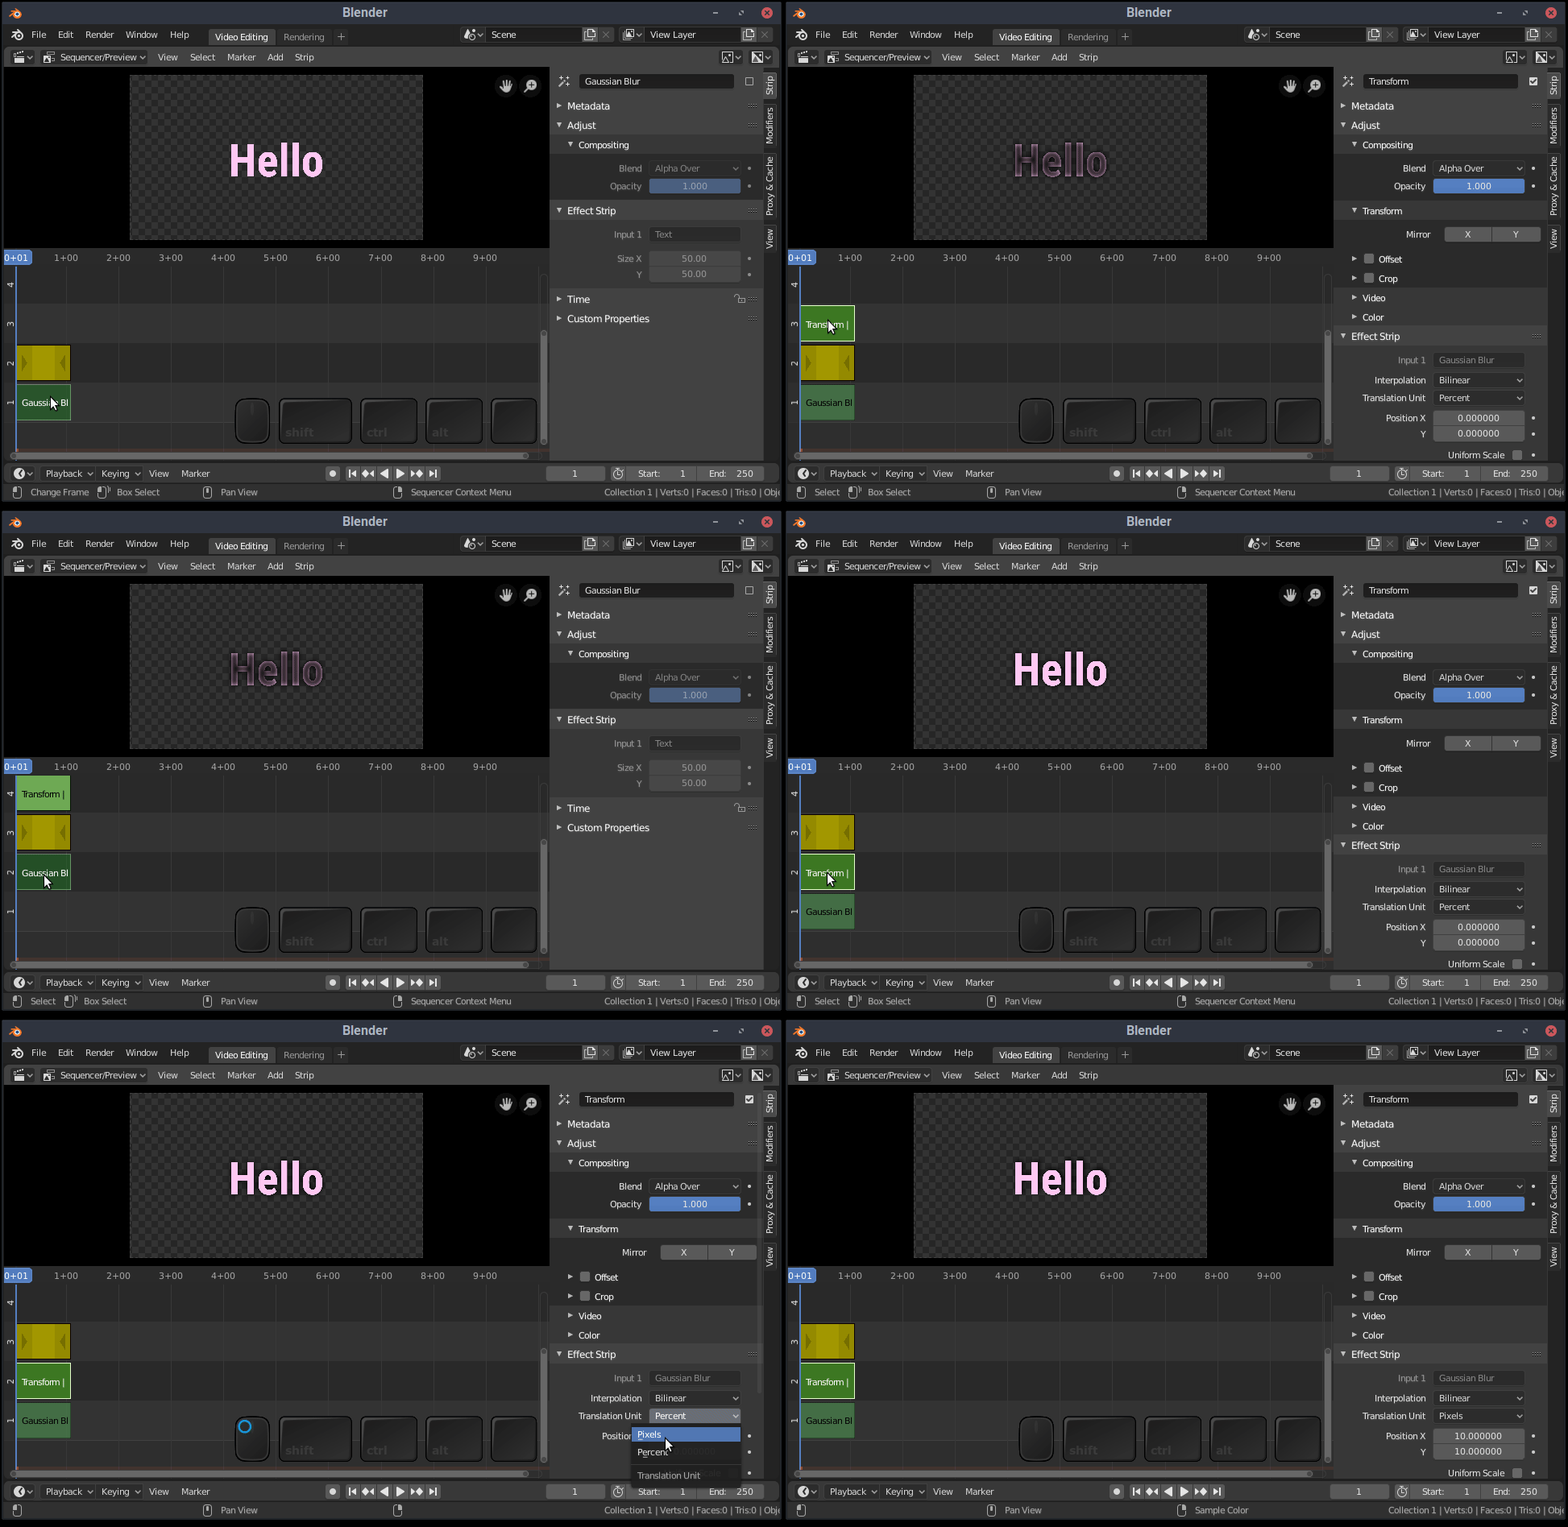
A centered drop shadow may accomplish the desired effect. However, most commonly, drop shadows also include offset values to give the illusion of depth. We need a way to offset the shadow from the text itself by X & Y pixels. For this, the “Transform” effect is our friend! With the Gaussian Blur strip selected, hit Shift + A once more to access the “Add” menu. Select “Transform” from the Effect Strip sub-menu. Since the Transform is added a channel above the original Text strip, we’ll need to re-order strips once again so that they are from top to bottom:
- Text Strip
- Transform
- Gaussian Blur
Additionally, we should now mute the Gaussian Blur effect, since the Transform strip is rendering the shadow. Select it and hit the H key (as in HIDE. You can un-mute strips with Alt + H).
Last, you’ll define your offset values from the Transform effects right properties menu.
- Set “Translation Unit” to “Pixels”
- Enter positive or negative values in the “Position X & Y” fields.
4. The Result
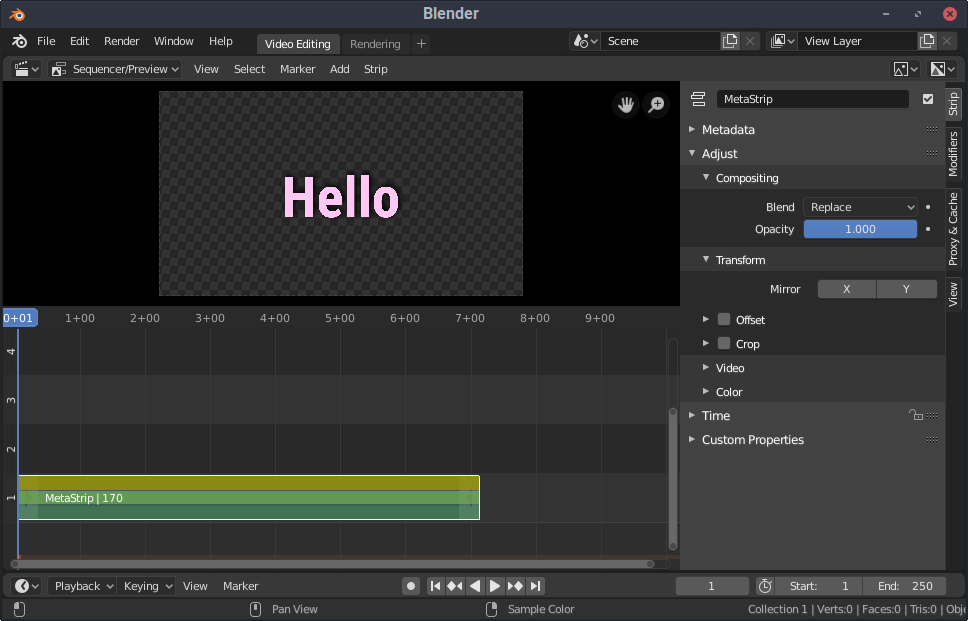
You should now have a text object in the sequencer with a nice drop shadow effect under it. You can adjust the Transform effect’s opacity to make the drop shadow more or less prominent. This all works fine, but it would be nice to be able to duplicate this object and re-use it throughout the project. My suggestion here is to create a “Meta-strip” from all 3 strips we just created. (select all strips, and hit Ctrl + G) This offers a few benefits.
- Duplicating the meta-strip will also duplicate the effects we added to the text.
- Adjusting “Opacity” of the meta-strip will make the text and shadow function as a single layer, not independently, which is desired.
- It keeps the project’s sequencer looking neater.
TRY THIS:
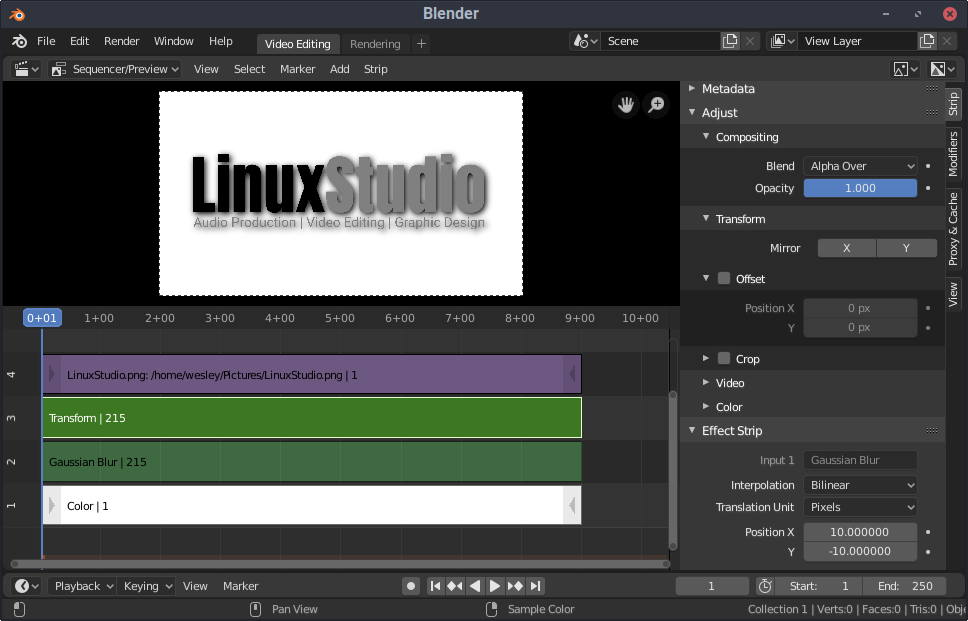
Repeat the steps outlined above with a PNG image strip, such as a logo with transparency!
